By Jaime O’Neill DDS
Most everyone knows the importance of flossing as a critical part of your dental care. Just a few minutes every day can make the difference between healthy gums and teeth or decay issues that require potentially expensive treatment and impact your overall health.
Many people who do floss don’t take the time to do it properly, which is almost the same as not doing it all. The time difference between correct and incorrect flossing is not great, but the result is significant.
Let’s go through the proper way to floss, step-by-step, so you’ll know if you’re doing it correctly.
Step 1
Make sure you are using floss best suited for your teeth. You can choose between waxed, unwaxed, flavored and unflavored but more important is the type of floss. There are two: multiple strand and monofilament. The multiple strand floss can fray so we recommend the single nylon strand that will easily glide between your teeth and not fray. For those of you with wide gaps between some of your teeth, we recommend tape floss.
Step 2
Break off a long-enough length – usually 18 inches or so – and wrap each end around your middle finger. You can then use your index finger and thumb to easily work the 3-4 inches of exposed floss. It’s best to use your thumbs to floss your upper teeth and your index fingers to handle your bottom teeth.
Step 3
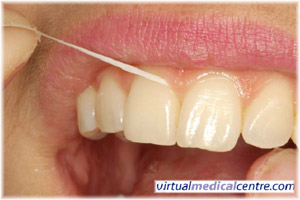
You can start anywhere, but most people like to begin between their top or bottom middle two teeth. Gently slide the floss into the space between the teeth. Be careful not to push too hard and hit your gum, which can cause discomfort and bleeding.
Step 4
Once you’re in move the floss in a C motion along each tooth to about 2-3 millimeters below the gum line. Once there, you can move the floss up and down, hugging the tooth. This will best remove all food particles and any plaque build-up on the teeth.
Step 5
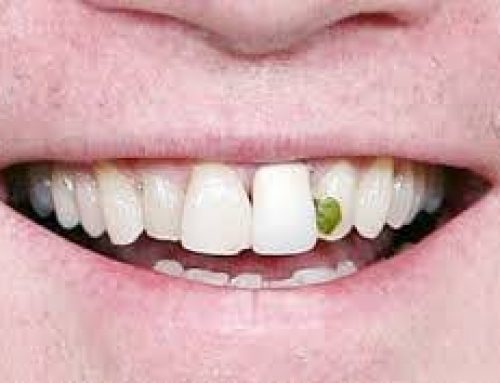
Continue the process with every tooth. As food debris collects on your floss, either rinse it off or continue using clean sections of the floss. Don’t forget your back molars, which often are neglected. These teeth often are traps for food, especially meat, and are more susceptible to decay and gum disease because they are often are not flossed on a regular basis.
Step 6
Once you finish flossing you’ll want to rinse your mouth well to get rid of any lingering debris. Some people prefer flossing after brushing, but if you floss first the fluoride from the toothpaste will have a better chance of reaching between your teeth and into your gum line.
Summary
If you don’t floss regularly, you might notice that your gums are bleeding. This is a sign that you should be flossing more often. It’s best to floss every day, if you can. If you pick a regular time, such as after dinner or before bed, it’s often easier to make flossing a regular habit.
Not all people can floss the conventional way. If that’s the case, there are other methods and devices you can use. They include:
–Floss holder. This is a y-shaped device with the floss positioned between two posts. Some people find this easier to use that string floss.
–Floss threaders. People with orthodontics, fixed bridges and dental implants usually floss the normal way. Floss threaders are designed to help you floss in difficult-to-reach places or areas that are obstructed with dental work.
–Power water devices. Electric power water devices are a popular method of cleaning teeth and gums as the water can sometimes dislodge food debris other methods can’t. However, water devices should not used as a substitute for flossing but rather as an additional method of keeping your teeth clean and gums healthy.


